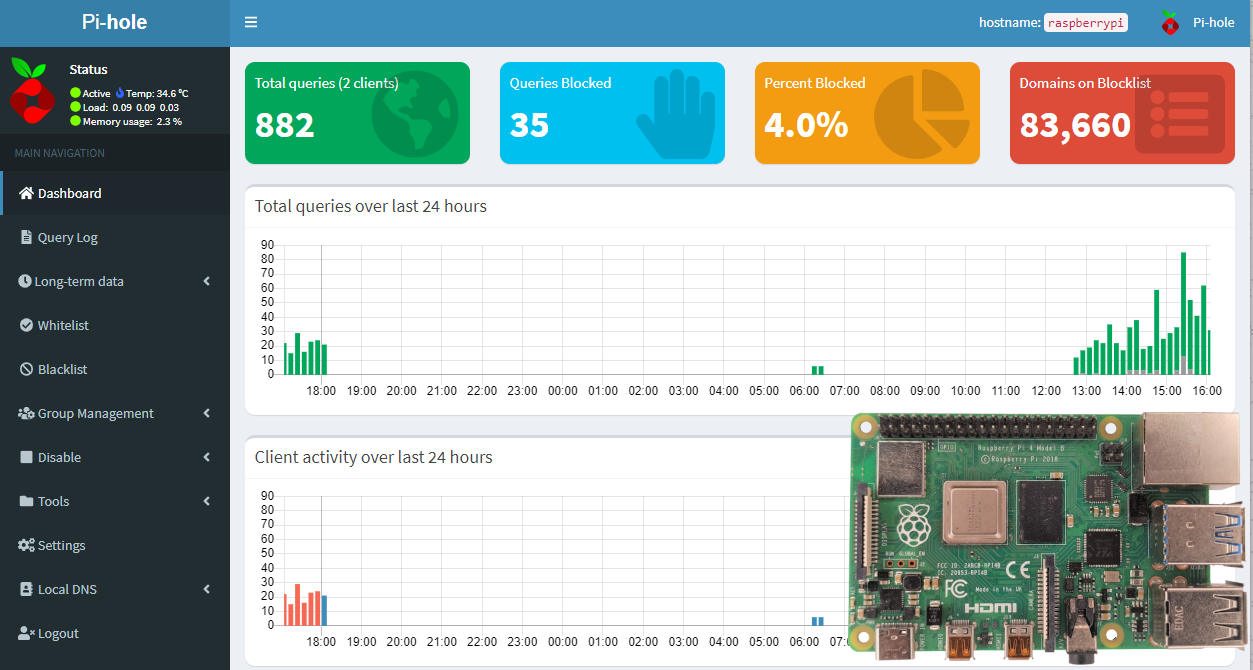
The Raspberry Pi, a compact and versatile computer, has a myriad of uses. One of its standout applications is its ability to block ads across your network (and speed up your network at the same time) using Pi-Hole. Pi-Hole, a free and open-source software, operates as a DNS sinkhole, intercepting and blocking ads at the DNS level. This ensures ads are halted before they reach your device, offering a seamless browsing experience.
Table of Contents
Prerequisites
Before diving into the setup, ensure you have the following:
Raspberry Pi
Any model with Ethernet port or Wi-Fi capability
MicroSD Card
8GB or more recommended (Class 10 preferred)
Power Supply
Official Raspberry Pi power adapter recommended
Internet Connection
Stable broadband connection for setup and updates
Step-by-Step Guide to Setting Up Pi-Hole
Setting up Raspberry Pi OS
First, you'll need to install the Raspberry Pi OS (formerly Raspbian) onto your MicroSD card. Download the latest version from the official Raspberry Pi website. Use software like BalenaEtcher to flash the OS onto the MicroSD card.
Booting and Initial Setup
Insert the MicroSD card into your Raspberry Pi and power it up. Follow the on-screen instructions to complete the initial setup, ensuring you connect to the internet. Make note of your Pi's IP address for later configuration.
# Find your Pi's IP address
hostname -IInstalling Pi-Hole
Open the terminal on your Raspberry Pi and enter the following command:
curl -sSL https://install.pi-hole.net | bashThis command fetches and runs the Pi-Hole automated installer. Follow the on-screen prompts to complete the installation. The installer will guide you through DNS provider selection, blocklist configuration, and admin interface setup.
Configuring Pi-Hole
Once installed, access the Pi-Hole admin interface by navigating to
http://pi.hole/admin or http://[your-pi-ip]/admin
on any device within your network. From here, you can customize settings,
view statistics, and manage your blocklists.
Blocklist Management
Add custom blocklists and whitelist trusted domains
Statistics Dashboard
Monitor blocked queries and network activity
DNS Settings
Configure upstream DNS providers and filtering options
Setting Pi-Hole as Your DNS Server
For Pi-Hole to block ads across your network, devices need to use it as their DNS server. This can be done in two ways:
Advanced Tips & Best Practices
Custom Blocklists
Add specialized blocklists for malware protection, social media blocking, or region-specific content filtering.
Regular Backups
Create regular backups of your Pi-Hole configuration using the built-in teleporter feature.
Keep Updated
Regularly update Pi-Hole and your blocklists to maintain effective ad blocking and security.
Monitor Performance
Check the query log regularly to fine-tune your whitelist and blocklist configurations.
Want a Pre-Installed Ready-to-Use Pi-Hole?
I use Pi-Hole myself on my own personal network. Not only does it block ads, it also prevents devices such as Smart TVs from sharing your viewing habit data. When I noticed this was happening with my own smart TVs, I was surprised to see just how much bandwidth it was consuming.
We offer installation services for this and other products for your home or business. Our professional setup includes optimized configurations, security hardening, and ongoing support.
Conclusion
With Pi-Hole set up on your Raspberry Pi, you can now enjoy an ad-free browsing experience across your entire network. Not only does this enhance your browsing experience, but it also conserves bandwidth, improves loading times, and provides additional privacy protection by blocking tracking domains.
The investment in a Raspberry Pi and the time spent setting up Pi-Hole will pay dividends in improved network performance and user experience. Your family and colleagues will thank you for the cleaner, faster internet experience.